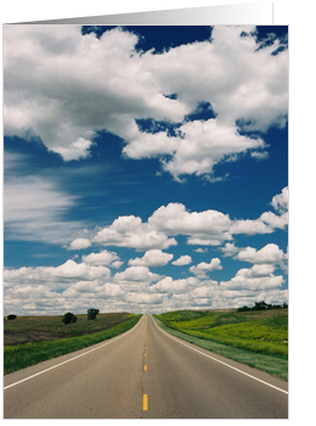
 card by: M Brandes at Photography by Melissa Brandes Dash of Inspiration Post for GCU Community Blog So today I thought I’d share some links to help the photographers out there to both improve the sky during capture and when necessary how to punch it up in post processing. There are so many ways to improve a weak sky, you are sure to find methods that suit your style ... Read Full Article & Get Links
0 Comments
 Photo Courtesy Noupe.com Dash of Inspiration
Post for GCU Community Blog Animals of all kinds have inspired artists and photographers since the beginning of time. For some these wonderful creatures are rendered with such realism that they come to life before your very eyes; for others the whimsical, silly and comical side of animals is brilliantly portrayed. So what makes great animal imagery? Read Full Article and Get Links 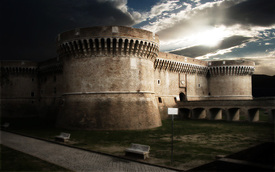 Add Dynamic Lighting
TUTORIAL SUNDAY: Here is a great tutorial for adding a dynamic lighting effect to a flat photograph. This comes to us from Psdtuts and is quick and easy! Visit Tutorial 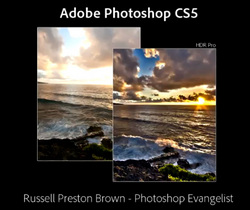 Top 5 Features of CS-5 If this doesn't make you excited about owning CS5 or make you desperate to upgrade, I don't know what will! This fantastic YouTube Video by Russell Preston will show you the Top 5 New Features in CS5 ... AWESOME stuff! 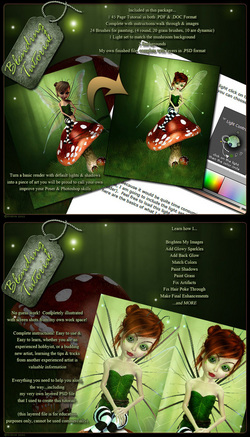 TUTORIAL SUNDAY:
Photoshop Blending This week's tutorial comes to us from Cosmosue at deviantART. She offers this great 45-page tutorial on How to blend characters into pre-made backgrounds and fix renders, add effects, add grass & hair... She will help you enhance your works & expand your knowledge of both Poser & Photoshop! This tutorial is not free, but well worth the small fee! View the Tutorial  SUNDAY TUTORIAL: Fixing RED EYE! View Tutorial Viewers of your photographs will first be drawn to the eyes of your subject. I call it the flash effect, because it's just as distracting regardless of the color when eyes are not clear and vivid, complete with catch-light. This tutorial is from Creative Pro and will hopefully inspire you to fix the eyes in all your living subjects! ENJOY and let me know if this was helpful! Add a Rainbow to a Photo Today's Feature: Add a Realistic Rainbow To A Photo from Photoshop Essentials. Create and Enjoy! Brought to us by Steve Patterson View Tutorial 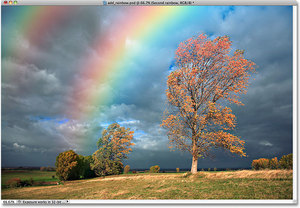 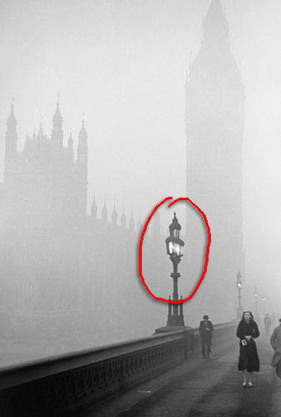 Realistic Fog and Mist Become a Fan of our Facebook Page to be notified each week of our New Tutorial posts on Sunday, Tuesdays is Marketing posts to share my own online experiences and great articles by others willing to share, and each Thursday I post a link to a great FREE Photoshop PRESET to add to your design arsenal! Like this one: Creating Realistic Fog and Mist by Tamlin and BioRUST.com See the Tutorial 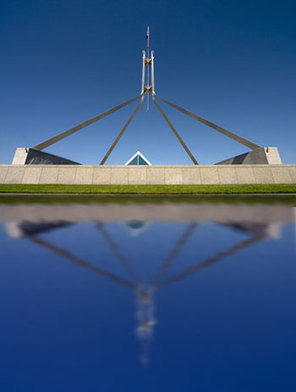 This Week's Tutorial: Creating Reflections Great step by step tutorial using Photoshop to create reflections ... give those photos a real boost! This comes from our friends at DPPhotoJournal.com! View Tutorial  From Bland to Grand Photography Tip for Nov/Dec 2010 This is not a 'how to' accomplish some great imaging techniques, there are hundreds of wonderful tutorials out there to give you step by step methods...but rather to inspire you to understand WHAT you can do if you are willing to learn. With that said, let me begin by saying that though I was educated in photography and worked very hard to earn my title as Master Class Photographer which led to a Lifetime Achievement Award in the Art and Science of Photography; when it comes to digital imagery, I am a self-taught artist and designer. I share this with you because I want anyone who has an interest in the digital world, a creative spirit and strong determination to know that they too can teach themselves how to create images with impact and appeal, from even the very basic snapshot. Photo editing software is really a must for the digital photographer. I use Photoshop CS-5, but Photoshop Elements and a number of other more affordable choices have some very basic tools to help you get great results. If you are not using your images in a professional capacity, there is no reason to spend hundreds of dollars on the latest Photoshop software. The real trick is to understand what tools to use when, and how not to use any one tool excessively. So let's chat about simple techniques to make the most out of your photos: The Gaussian Blur Every photo tells a story and its up to you to tell it. If you can become a story teller through your images, then you are on your way to becoming a master of the digital imaging realm. When you look at one of your photographs, look past the imperfections during capture such as poor lighting and look into the image to see its true potential. Only then can you begin to transform the ugly duckling into a beautiful swan. The Gaussian Blur tool offers many uses that can give your photographs that extra punch:
Convert to Black & White In this marvelous digital darkroom we photographers now play in, you can use a Black and White transformation to give a cluttered image or one with uninteresting color, an entirely different look. There are many ways to achieve this, some are better than others, but it does depend on what software you have as to your options. If you aren't using Photoshop, you may have one of these options which you can try.
Effects & Filters I've used digital imaging software for over 15-years now and though I have many images that I still love the concept of what I created, they were so over-processed with 'mind-altering filters' that I would never consider them as part of my portfolio, nor do I sell them. What do I mean by that? All digital imaging software offers filters to manipulate the image, such as; Watercolor, Dry Brush, Poster Edge and so on. These are fun to play with and its great to learn what each application does, however, the effects are very obviously digital filtering and in many cases they are applied using factory settings, creating results that are excessive and artificial. To really make use of these filters and begin to create something unique, you should experiment with combining these filters on separate layers then use your blending tools; such as opacity and masks to calm the effects down. Your goal should be to actually blend the filter with the photograph or completely transform the image, not simply lay the filter on top of the photograph and consider it done. These filters, when painted on and blended in, are great for pulling out texture, blending colors and giving a true painterly look. Here are some examples of my own saves, just learn to see what could be rather than only what is! 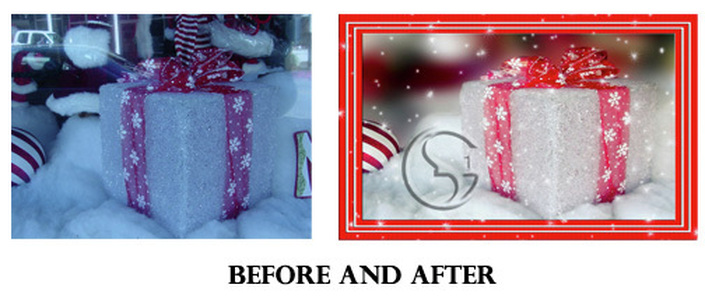 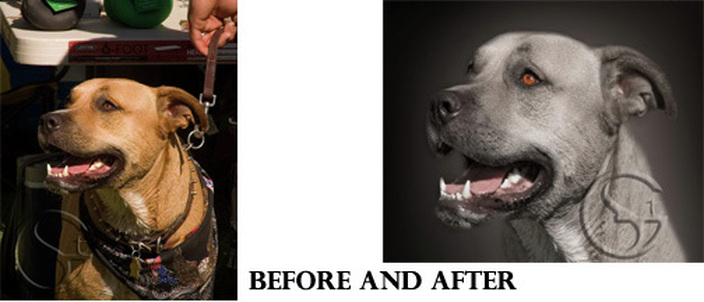 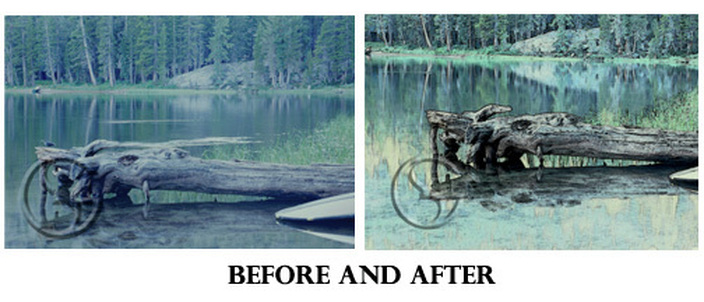 |
Resources
Here we archive our Photo Tips, Tutorials, Marketing Tips and Preset Downloads from all our sites. ENJOY! Categories
All
My favorite
|


|
|

Commercial License Holder
|

Salon of Art
on Red bubble